Friday, May 4, 2012

I moved to huppiemama.com

by Carrie Wells, Ed.D.

I purchased my domain in March. It's up and running. Check out the *new and improved* Huppie Mama by clicking the image below or visiting http://huppiemama.com:

  Huppie Mama

Thursday, March 1, 2012

Dessert Bread Recipe

by Carrie Wells, Ed.D.
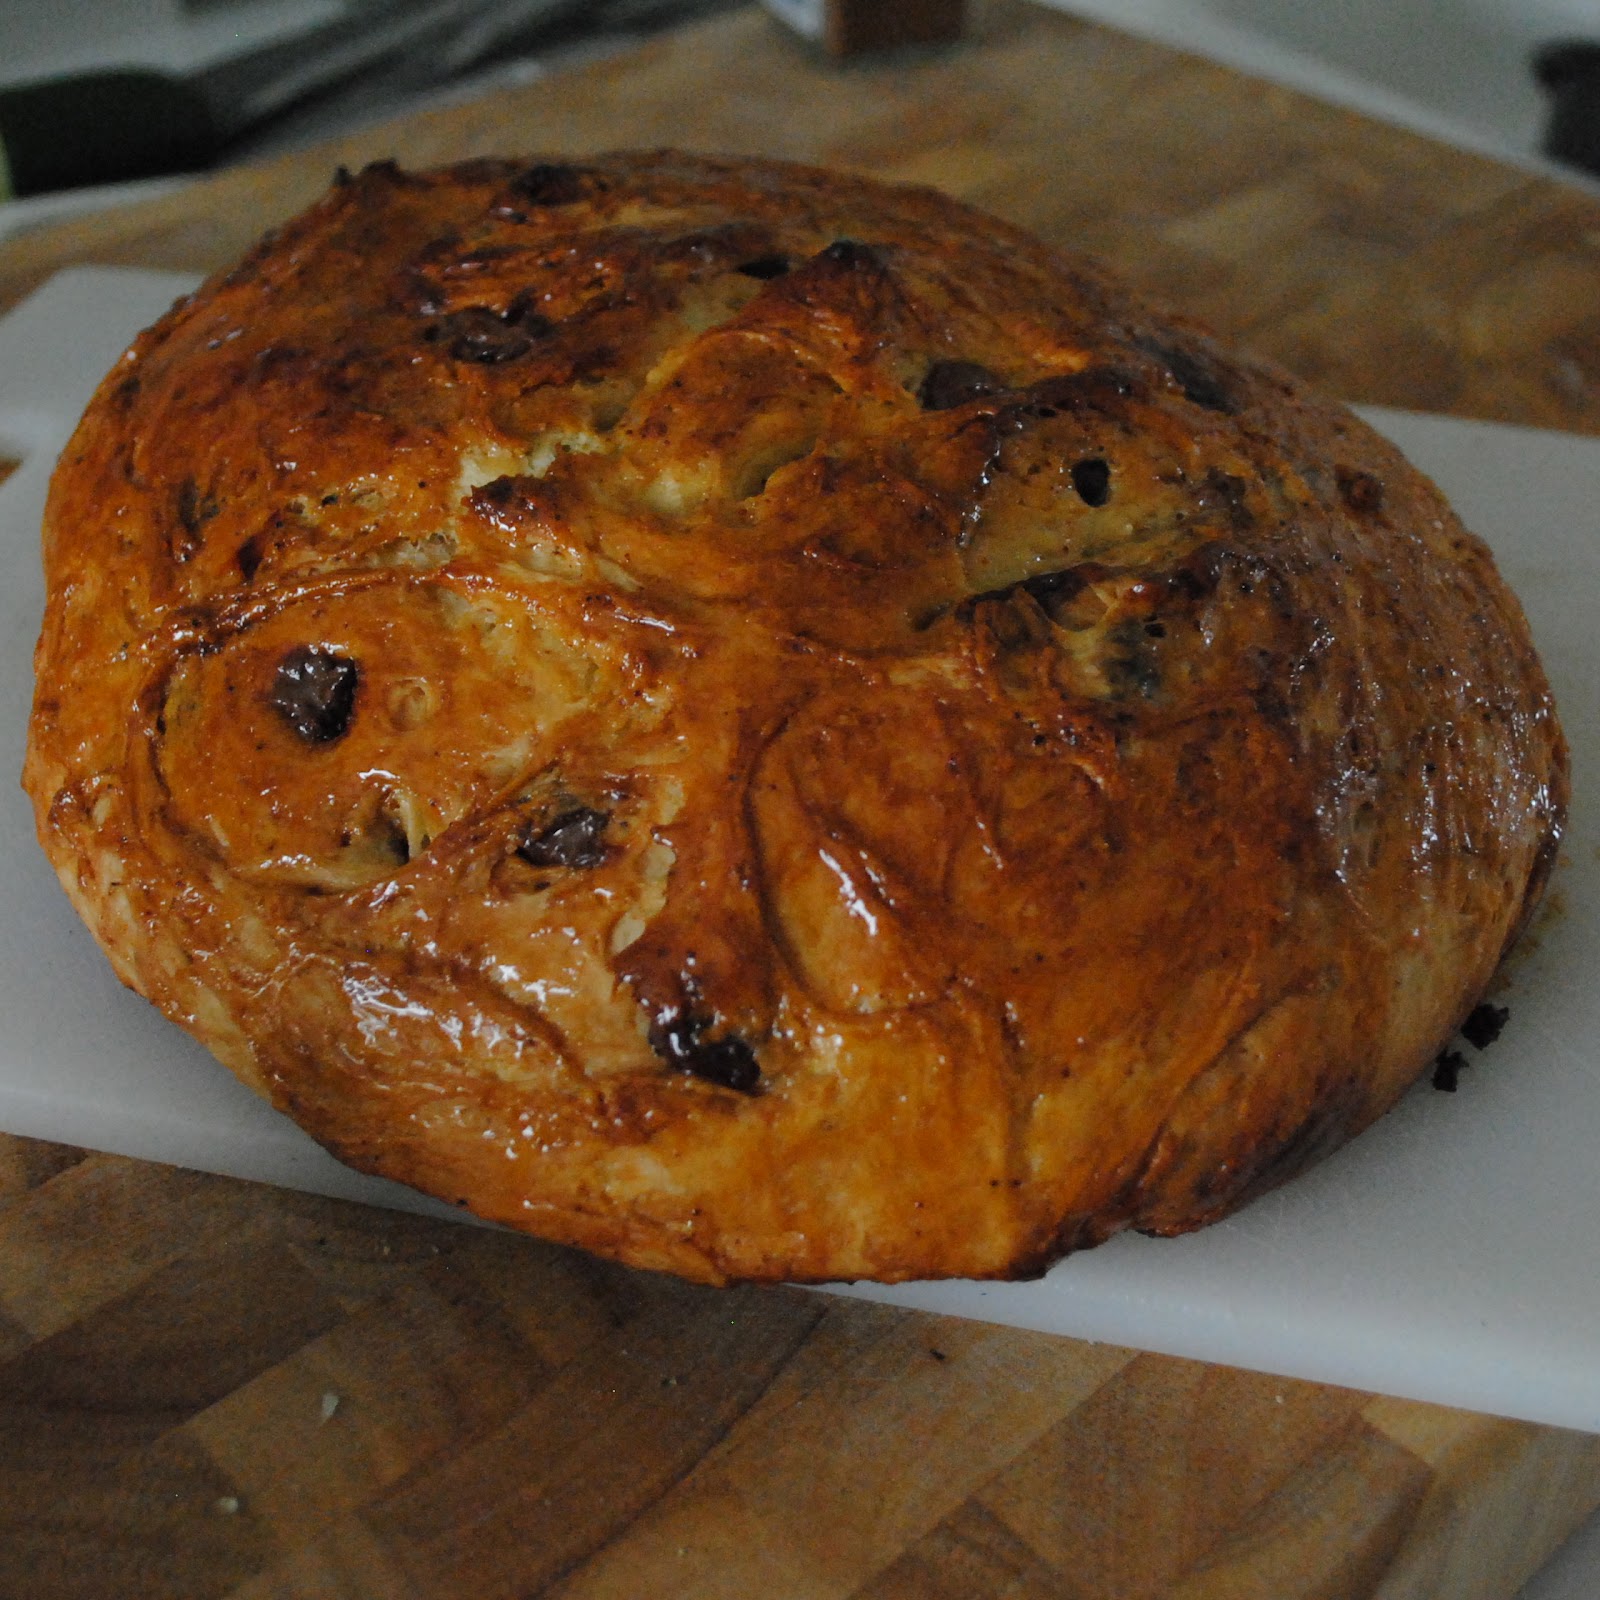
Last night, I went to a tasting event at Whole Foods and tried a delicious Chocolate Chip Challah French Toast. I went home and had to reproduce something similar. I've been really into baking bread recently, so I made a delicious bread this morning, and I don't know what else to call it other than dessert bread. It tastes like all the goodness of bread pudding...but without all the cream/eggs (although that part is delicious, too!) In the recipe below, I added raisins & walnuts. Those were not in my original recipe, but would make an awesome addition.


Dessert Bread


Ingredients:
2 1/4 c bread flour
1 egg
2/3 c warm water
1 stick room temperature butter, cubed
1 T sugar (I used turbinado)
1/2 t salt
1/2 t cinnamon
2 t yeast
1/2 c chocolate chips
1/3 c walnuts, chopped
1/3 c raisins
1/4 cup honey

Directions:
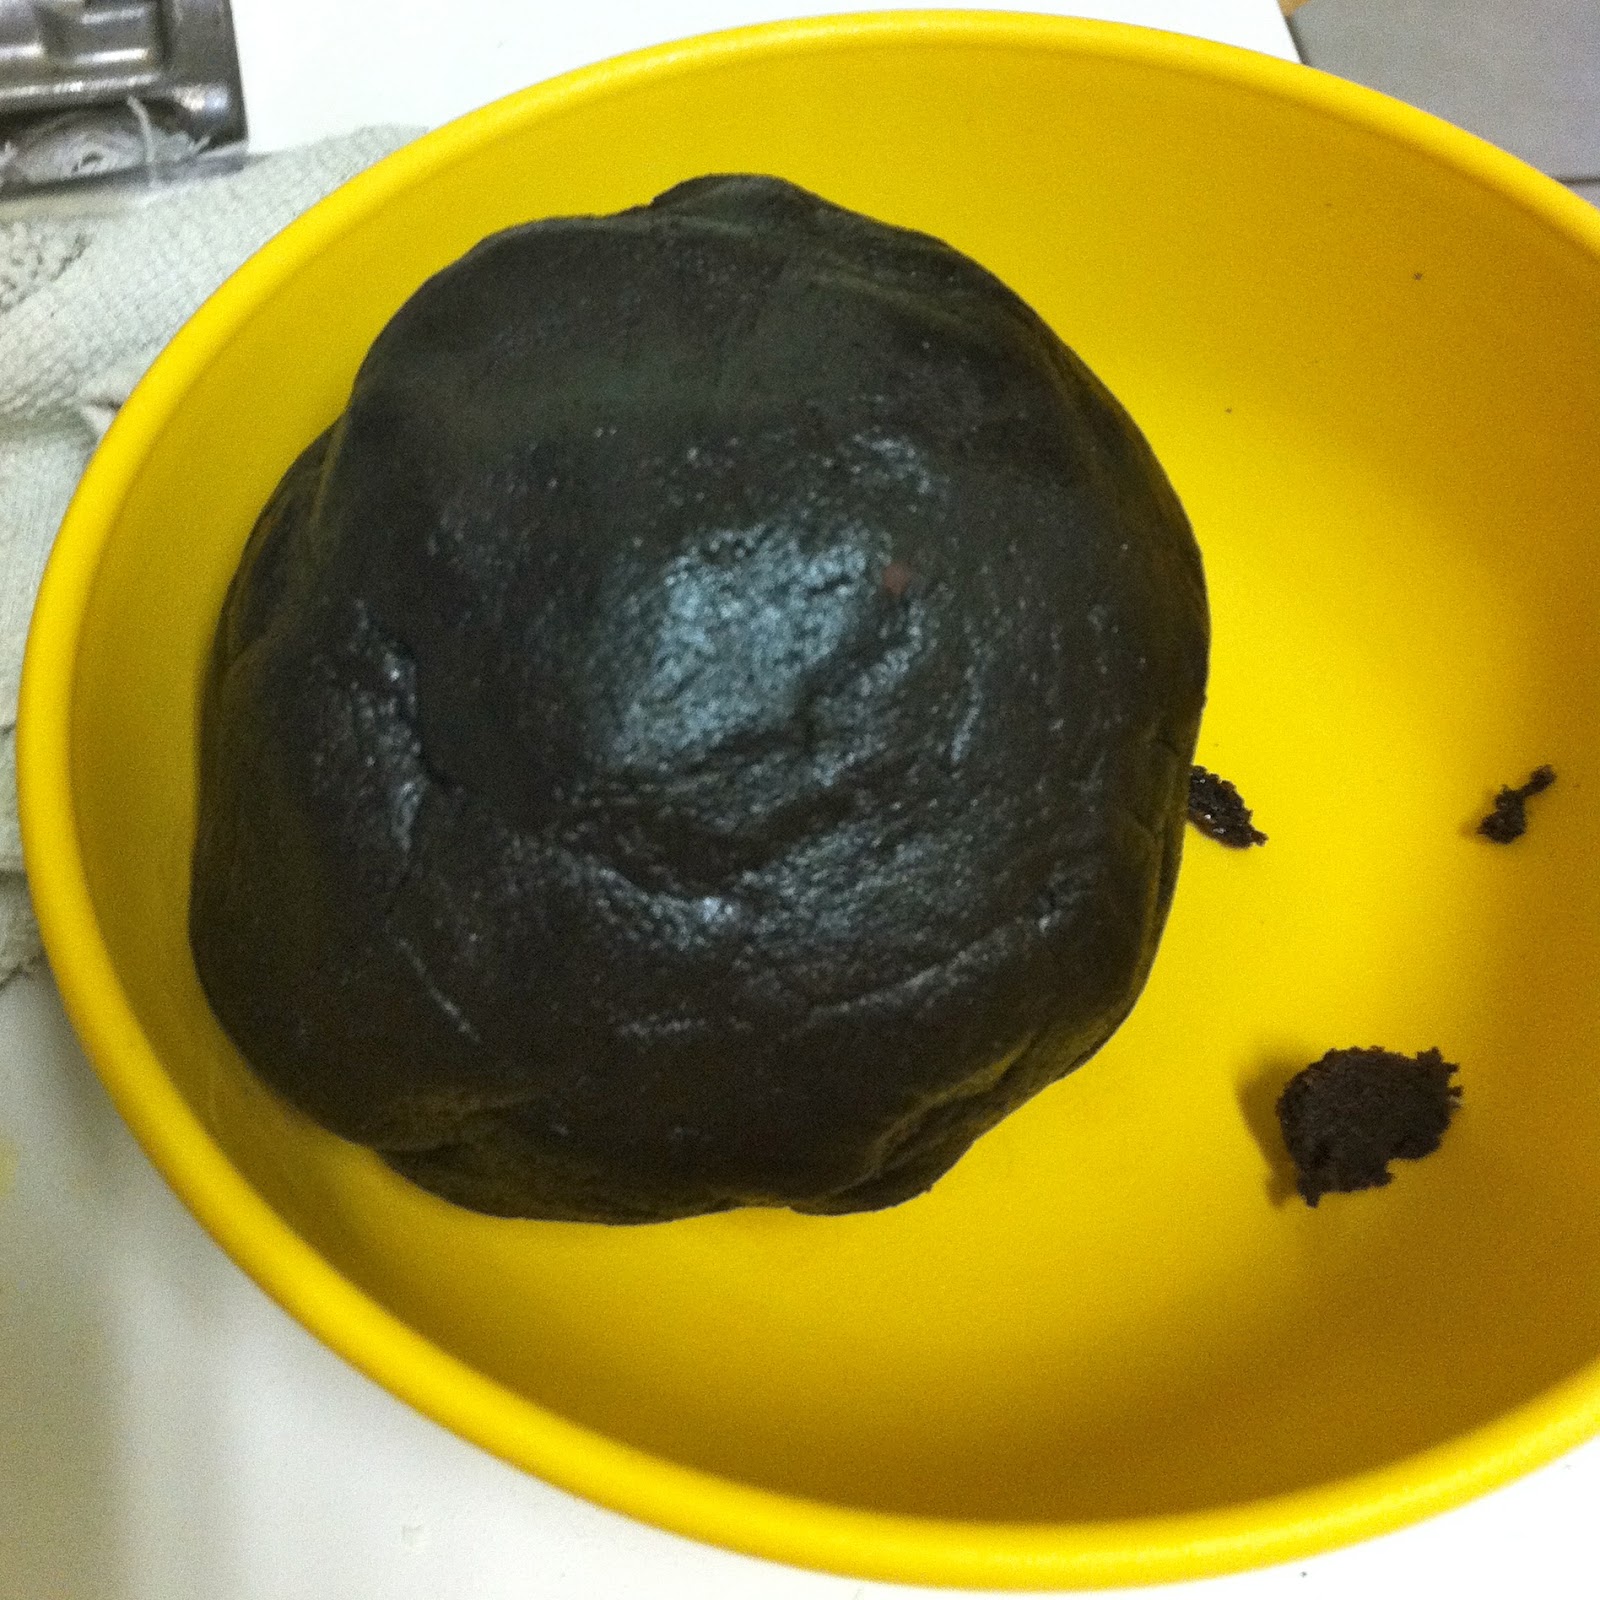
1. In a larger mixer with a bread hook attachment, combine warm water and yeast. Add egg, butter, sugar, cinnamon, and salt. Continue to mix until the ingredients are well-combined. The dough will be sticky.

2. On a floured surface, need the dough briefly and place in a bowl for 30 mins to rise. Knead the dough for several minutes, and again place in the bowl for 30 minutes to rise.

3. Kneed the dough once more and add in the raisins, chocolate chips, and walnuts. Place on a greased cookie sheet to rise once more time.

4. Preheat oven to 375 degrees. Heat the honey in a small dish in the microwave until it becomes very liquidy. After the dough has risen for a 3rd time, brush it with the honey. Place it in the oven to bake.

5. While cooking, at the 10 and 20-minute intervals, quickly brush the bread with honey. Bake the bread about 35 minutes, or until the crust is a deep golden brown.

Eat immediately, while still warm and gooey!


Day 12 ~ Make a Food Bryce Can Try

by Carrie Wells, Ed.D.
Day 12 was 'Make a Food Bryce Can Try' and it happened to be fajita night at my sister's house. I'm a big fan of waiting until about 6 months to feed your child solid foods, but I am also a fan of encouraging children to explore. When we eat, Bryce basically attacks me to try to get at my food. He is so determined to try everything, that I have to put my plate practically on the other side of the table so he can't grab it. He is so interested in food!

So, I decided at 5 1/2 months, I'd let him try some super-mushy ripe avocado. I cubed it and put it on a plate, and let him mush it with his hands. If he wanted to play with it, he could. If he wanted to taste it, he could. I'm definitely not ready to feed him meals, but I don't mind him exploring the world around him, using all of his senses. Even when it's time to start eating 'meals,' I plan to just put soft finger foods on a surface for him to explore and taste. His main source of nutrients for the first year will be breastmilk, but I like that he has an interest in food. Definitely mommy's little guy!


Day 11 ~ Try a New Cooking Technique

by Carrie Wells, Ed.D.
'Try a new cooking technique' was not initially a part of my cooking challenge, but I decided to add it in as Day 11. I'm always open to trying new techniques ~ and this time I went with using my oven as a food dehydrator. We had so many strawberries (probably around 3 or 4 pounds) that I decided to make some fruit leather.

First I sliced the strawberries. I looked at some other recipes that said to add water, lemon juice, and sugar. I added a bit of each, but honestly, these were so ripe and juicy, I probably should've just stuck with strawberries only. 
Each time I sliced a berry, I think Lydia ate half of it (see her guilty full cheeks??)


Then I simmered the mixture for about a half hour.


I pureed it in a small food processor. If you want to remove the seeds, you can pour it through a sieve, but I liked the natural texture that the seeds give it.


Then I spread the mixture onto a cookie sheet covered with plastic wrap. I set my oven to 170 degrees, and cooked the mixture 2-3 hours, until it was chewy (not sticky, but not brittle either).


Here's what the entire sheet looked like when I pulled it off the pan. 
The two random spots are where I poked my finger to see if it was still gooey.


I placed the fruit leather in the freezer for a few minutes to cool and firm. Lydia loved it! 


Day 10 ~ Make a Recipe w/Food We Picked

by Carrie Wells, Ed.D.
This past weekend, we visited Bedner's Farm again to pick fresh strawberries, tomatoes, and peppers. We even went with some friends this time!


Our food challenge for Day 12 was to create a meal with something we grew or picked. I decided to challenge myself to create a homemade ravioli with sauce from our fresh tomatoes.


The pasta itself is made by combining 2 cups of unbleached all purpose flour, two eggs, a tablespoon of olive oil, and about a half a cup blanched & pureed fresh spinach (squeezed to remove most of the liquid). I combined it using a mixer with dough hook attachment. I cut it into circles using a cookie cutter. They are filled with a mixture of chicken sausage, sun-dried tomatoes, sauteed onions & garlic, mozzarella cheese, and parmesan cheese, placed in a food processor to chop finely. 


The sauce was really simple - sauteed garlic, onion, olive oil, tomatoes, and some Italian seasoning. The pasta, however, was a lot of work!  That part alone probably took me 2 hours. The good part is....it was quite tasty! The texture of the pasta was perfect and the flavor was delicious.

Wednesday, February 29, 2012

HP e-All-In-One Printer Review

by Carrie Wells, Ed.D.
As a member of MomSelect, I was chosen to review the new HP DJ3052A e-All-In-One Printer available at Walmart for just $69.
This printer-scanner-copier features technology that allows you to print directly from your smart phone, tablet, or laptop from virtually anywhere! This is great for printing:
  • Photographs
  • Coupons
  • Recipes
  • Maps
  • Important documents
  • Airline tickets
  • Teaching materials (hand-outs, craft ideas, etc.)
Check out the following video which demonstrates just how easy it is to use the HP e-All-In-One Printer to make document special times with your family. Here's how my daughter and I baked bread by printing coupons to buy ingredients, printed photos of the bread-making process, and assembled a book of our cooking project. So much fun!


* I received the aforementioned product for free to review. The opinions expressed are honest and provided without monetary compensation.

Monday, February 27, 2012

Day 9 ~ Go out for Ice Cream

by Carrie Wells, Ed.D.
'Go out for ice cream' turned into lunch and ice cream with my sister and mom ~ Pasquale's Pizza & Cold Stone Creamery. Lydia and I shared the sweet cream ice cream with brownies and graham cracker crumbs. I put her portion in a cone, and I ate the rest of the cup. Yummy!

Can't I eat my ice cream in peace?

Please! No more pictures, Mommy!

Fine, I'll pose for just one more!

Saturday, February 25, 2012

Day 8 ~ Bake Cookies

by Carrie Wells, Ed.D.
This was an awesome challenge! I got ty try out a recipe I had thought about trying, and when I shared the idea on Facebook, I think I inspired three other mommies to make some. I decided to do homemade Oreo cookies. While I like things that are cookies n' cream flavored, there's something about store-bought Oreos that I don't like. They have a bit of a cardboard texture/flavor that just makes them taste processed. Well...the solution is to make your own! You can click the link above for the recipe, so I'll just share my series of photos. I used King Arthur Double-Dutch Dark Cocoa for a really rich, deep flavor.

Homemade Oreo Cookies

Lydia loves cooking with me!


You can laugh about what this dough looks like. I did a bit...but it was yummy!


I made my cookies pretty small - I wanted them to be the size of store-bought Oreos.


Here are the cookies straight out of the oven.


I put the filling in a zipper bag and cut the tip to "pipe" the filling into the cookies.


Wednesday, February 22, 2012

Day 7 ~ Barbecue!

by Carrie Wells, Ed.D.
Our food challenge for Day 7 just said BBQ. Well, I went our for brunch that day with my childhood best friend, and Richard decided to do the BBQ with Lydia for lunch. He wrote it all out for me:

Half rack of Bourbon Babyback Ribs


Marinade:
2 t smoked paprika
1/4 cup brown sugar
1 oz bourbon
salt
pepper

Glaze:
1 1/2 oz bourbon
1 T honey
1 T brown sugar
1 t dijon mustard
1 t molasses
1 t Worcestershire sauce
pinch of chili powder
salt
pepper

Directions: Marinate in a large zipper bag overnight. Place on a charcoal grill. Brush glaze on periodically while both sides of meat cook to completion.

Polish Sausage


Ingredients:
Kielbasa
a bottle of beer
1t caraway seeds
1 medium onion, sliced

Directions: First, cook on a charcoal grill until grill marks appear. Then,  cook in a bath of beer, caraway seeds, sliced onions.

Looks like Lydia enjoyed!

Sunday, February 19, 2012

Day 6 ~ Make a Vegan Meal

by Carrie Wells, Ed.D.

I lost a few days in my food challenge because I had to get all 4 wisdom teeth removed, but I'm back! Today's challenge was to create a vegan meal. Now, I may have been a vegetarian/pescatarian for several years, but the vegan thing is a true challenge! I decided to go with a Mediterranean/Middle Eastern flavor.

Here are most of the ingredients that I used


And here was the outcome


I made vegetable kebabs that I brushed with a lemon-garlic-dijon vinaigrette and grilled. I brushed some flat bread with olive oil, added Italian seasoning, and grilled that, too. I made a salad of garbanzo beans, read onion, celery, salt, pepper, olive oil, and red wine vinegar. I served this with some hummus and a decent-quality pre-packaged mix of whole grains (brown rice, bulghur wheat, and a few others). It was pretty delicious! Although one thing I will say, because this contained absolutely no animal products, it also contained absolutely no animal fat. This means that in order to get nice grill marks (which means flavor), I had to use a lot of olive oil. The nice thing about meat products, dairy, etc. is that they naturally contain fat, so you do not have to use as much additional oil. I think I forgot about this as I moved toward eating a more well-balanced diet.
 
Template: Blog Designs by Sheila