Showing posts with label baking. Show all posts

Thursday, March 1, 2012

Dessert Bread Recipe

by Carrie Wells, Ed.D.
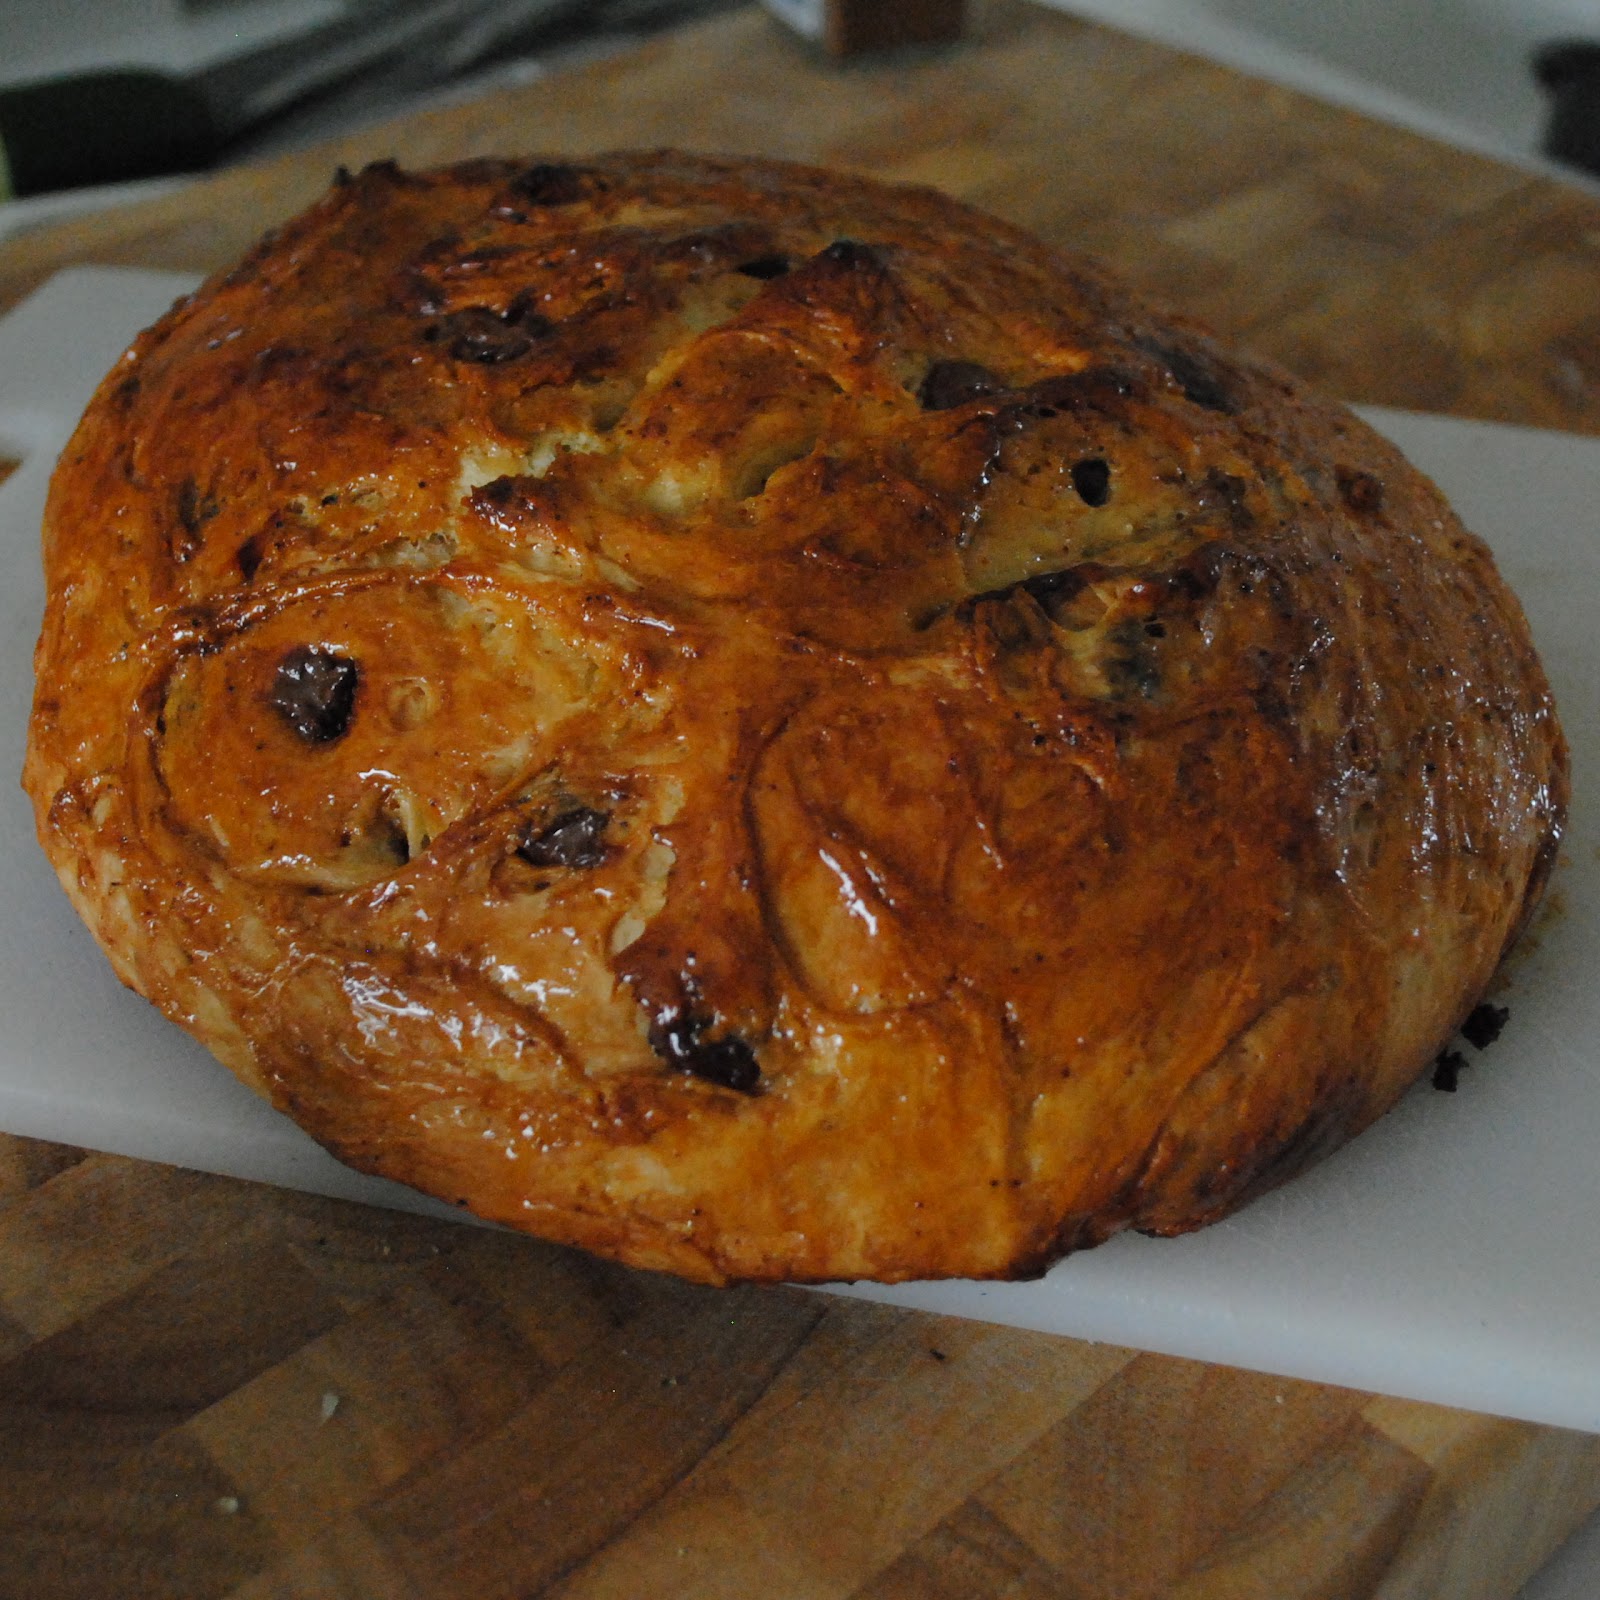
Last night, I went to a tasting event at Whole Foods and tried a delicious Chocolate Chip Challah French Toast. I went home and had to reproduce something similar. I've been really into baking bread recently, so I made a delicious bread this morning, and I don't know what else to call it other than dessert bread. It tastes like all the goodness of bread pudding...but without all the cream/eggs (although that part is delicious, too!) In the recipe below, I added raisins & walnuts. Those were not in my original recipe, but would make an awesome addition.


Dessert Bread


Ingredients:
2 1/4 c bread flour
1 egg
2/3 c warm water
1 stick room temperature butter, cubed
1 T sugar (I used turbinado)
1/2 t salt
1/2 t cinnamon
2 t yeast
1/2 c chocolate chips
1/3 c walnuts, chopped
1/3 c raisins
1/4 cup honey

Directions:
1. In a larger mixer with a bread hook attachment, combine warm water and yeast. Add egg, butter, sugar, cinnamon, and salt. Continue to mix until the ingredients are well-combined. The dough will be sticky.

2. On a floured surface, need the dough briefly and place in a bowl for 30 mins to rise. Knead the dough for several minutes, and again place in the bowl for 30 minutes to rise.

3. Kneed the dough once more and add in the raisins, chocolate chips, and walnuts. Place on a greased cookie sheet to rise once more time.

4. Preheat oven to 375 degrees. Heat the honey in a small dish in the microwave until it becomes very liquidy. After the dough has risen for a 3rd time, brush it with the honey. Place it in the oven to bake.

5. While cooking, at the 10 and 20-minute intervals, quickly brush the bread with honey. Bake the bread about 35 minutes, or until the crust is a deep golden brown.

Eat immediately, while still warm and gooey!


Saturday, February 25, 2012

Day 8 ~ Bake Cookies

by Carrie Wells, Ed.D.
This was an awesome challenge! I got ty try out a recipe I had thought about trying, and when I shared the idea on Facebook, I think I inspired three other mommies to make some. I decided to do homemade Oreo cookies. While I like things that are cookies n' cream flavored, there's something about store-bought Oreos that I don't like. They have a bit of a cardboard texture/flavor that just makes them taste processed. Well...the solution is to make your own! You can click the link above for the recipe, so I'll just share my series of photos. I used King Arthur Double-Dutch Dark Cocoa for a really rich, deep flavor.

Homemade Oreo Cookies

Lydia loves cooking with me!


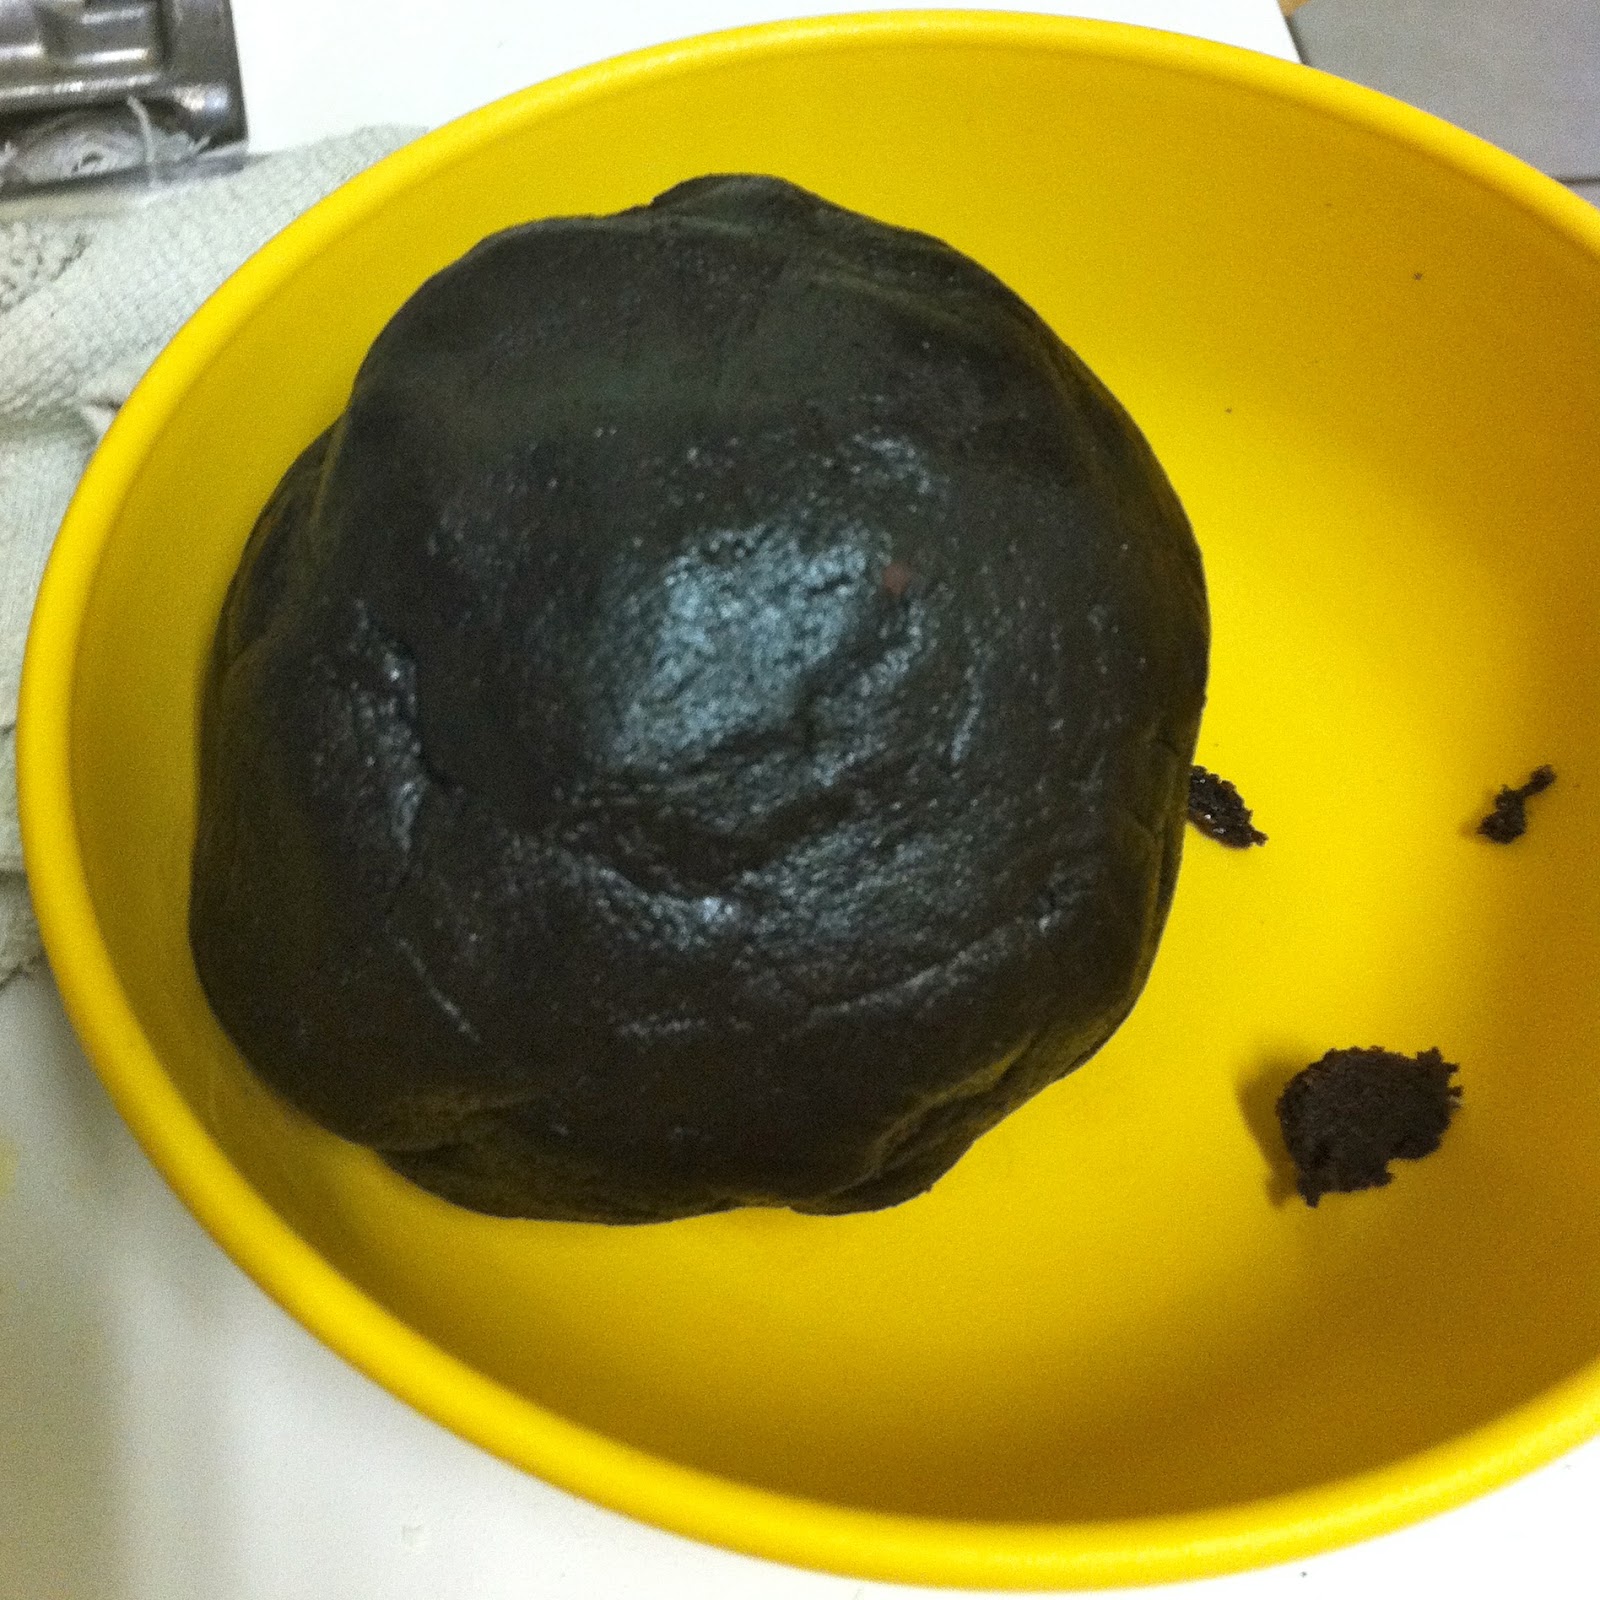
You can laugh about what this dough looks like. I did a bit...but it was yummy!


I made my cookies pretty small - I wanted them to be the size of store-bought Oreos.


Here are the cookies straight out of the oven.


I put the filling in a zipper bag and cut the tip to "pipe" the filling into the cookies.


Sunday, February 19, 2012

Day 5 ~ Bake Bread

by Carrie Wells, Ed.D.

While I absolutely love cooking, I have only recently begun to learn to bake. There is such a science to baking that I am starting to understand. My latest interest is in learning how to bake breads. Bread-making always looked so complicated, but I am quickly learning that you can make pretty good bread with just a few ingredients and a few steps. Pinterest guided me to a 5 minute artisan bread. Five minutes? I could do that! Well here goes...

The Dough

The Bread

The Bread After Lydia Got to It

Yes, I can bake bread! And it was delicious! However, the one thing I learned about baking bread is that it must be eaten immediately to truly appreciate how special it is.

Saturday, December 3, 2011

Baking with Kids ~ Almond Cookies

by Carrie Wells, Ed.D.
I love getting Lydia in the kitchen with me to cook. Last Friday, we decided to bake almond cookies together first thing in the morning. I hope that one day she shares my love of cooking and baking. Here's our recipe - this is a great one for the holidays!


Almond Cookies
(makes 40 small cookies)


Ingredients
2 sticks (1 cup) of butter, softened
2/3 cup powdered sugar (plus extra for dusting)
1 cup coarsely-ground almonds
2 1/2 cup unbleached flour
1 t vanilla extract
1 t almond extract
pinch of salt

Directions

Preheat oven to 350 degrees. 
In a mixer, cream together butter and powdered sugar until well-combined and fluffy.


In a small food processor, coarsely grind almonds.


Add vanilla and almond extracts to the butter sugar mixture and continue to mix.


 Add nuts into the butter and sugar mixture and continue to mix.


Add flour to the mixture and continue to mix until combined. 


Stir by hand to make sure everything is mixed together well.


Then lick the spatula clean?!


Using a small one-tablespoon scoop, make 40 scoops of cookie dough, evenly-spaced on a silicon baking sheet or greased cookie sheet. Use your fingers to flatten the cookies gently so they will cook evenly.


Bake about 15 - 18 minutes until they are firm and slightly golden along the edges of the cookie. Place on a cooling rack to cool. 


Using a fine mesh sifter, dust with powdered sugar and enjoy!


Saturday, July 16, 2011

Baking Bread

Several years ago, I said that I was going to try to bake my own breads. I baked one, it wasn't too good, and I quickly gave up. Last Black Friday, I got a Kitchenaid Mixer, and a few months ago, I got a bread hook from CSN Stores. I was watching Barefoot Contessa about a week ago on the Food Network, and she made what looked like a really simple recipe for Honey White Bread. Since I've been eating more sandwiches recently, I decided I would try it out! Here are my step-by-step photos of my first real bread-making experience:

 This was after adding the yeast, warm water, warm milk, honey, egg yolks, sugar, and 3 cups of flour. This was kneaded in the mixer for 5 minutes on a low speed.

 I added an additional 2 1/2 cups of flour and kneaded in the mixer for 8 minutes at a medium speed.  I removed it and placed on a floured butcher's block. Then I kneaded it by hand for 1 more minute.

 Now the dough is ready to rise!

 The dough has risen the first time for one hour.

 The dough has risen for an additional hour in the bread pans. Ready for the oven!

 40 minutes later and out of the oven.

 Perfect Honey White Bread!
 
Template: Blog Designs by Sheila